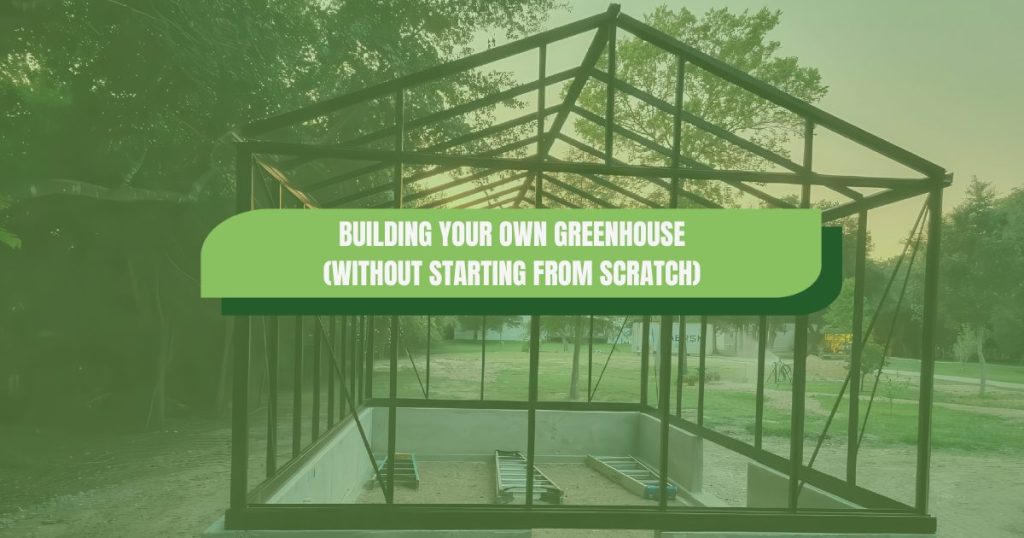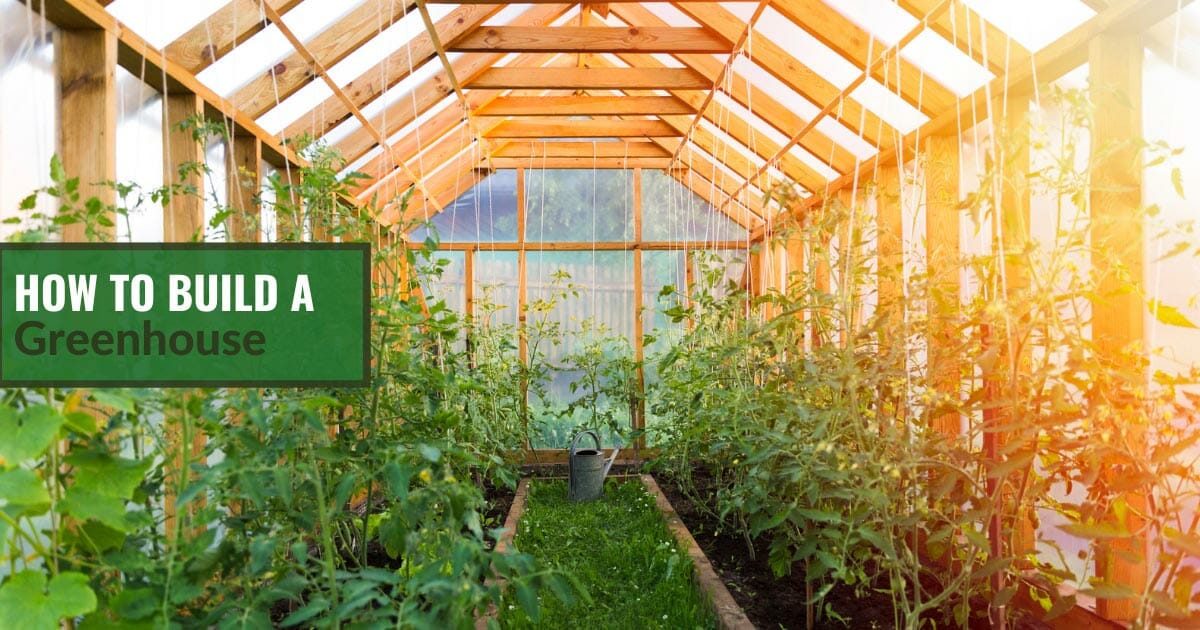
So you’ve decided to take the step towards sustainable and year-round gardening? That’s great, but before you can do anything you need to figure out how to build a greenhouse.
Whether you’re a gardening enthusiast, a homeowner with a green thumb, or someone looking to venture into sustainable living, this article will equip you with the knowledge and step-by-step instructions to create your own thriving greenhouse oasis.
Building a greenhouse offers numerous benefits, from extending the growing season to protecting delicate plants from harsh weather conditions.
With proper planning, the right materials, and a clear understanding of the construction process, you’ll be well on your way to cultivating a vibrant and productive garden space.
So, let’s dive in and discover the exciting world of greenhouse construction!
What this article covers:
- Greenhouse planning & design
- Greenhouse materials and tools
- Essential materials for greenhouse construction
- Prepping your greenhouse site
- Setting the greenhouse foundation
- Construction process
- Framing the greenhouse
- Greenhouse glazing and covering
- Getting greenhouse confidence

Greenhouse planning & design
Proper planning and thoughtful design are essential steps in building a successful greenhouse.
Assessing available space and resources
Before diving into greenhouse construction, take the time to evaluate the available space and resources you have.
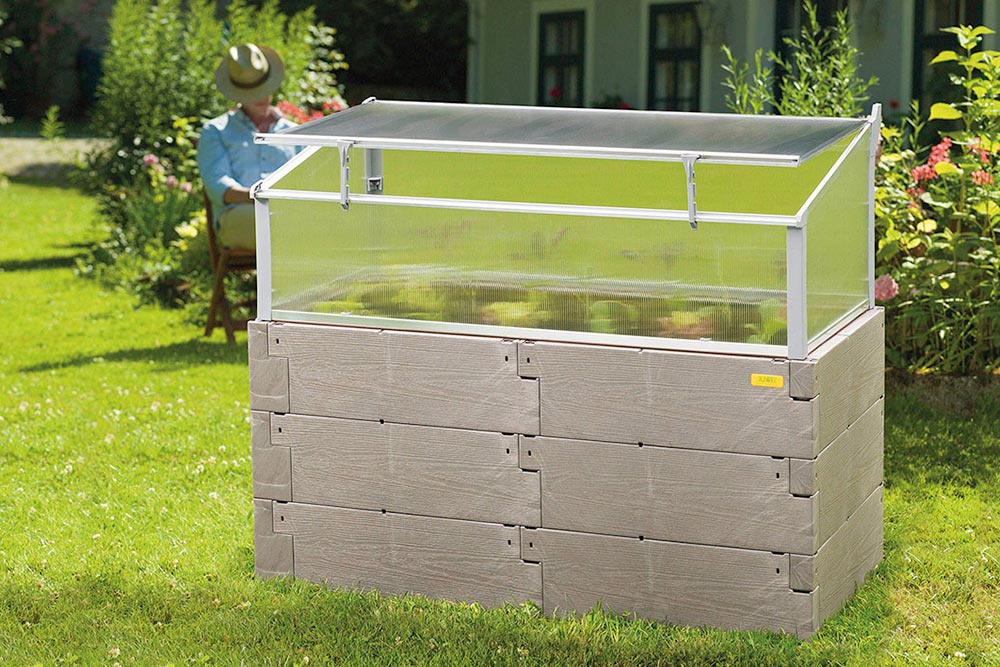
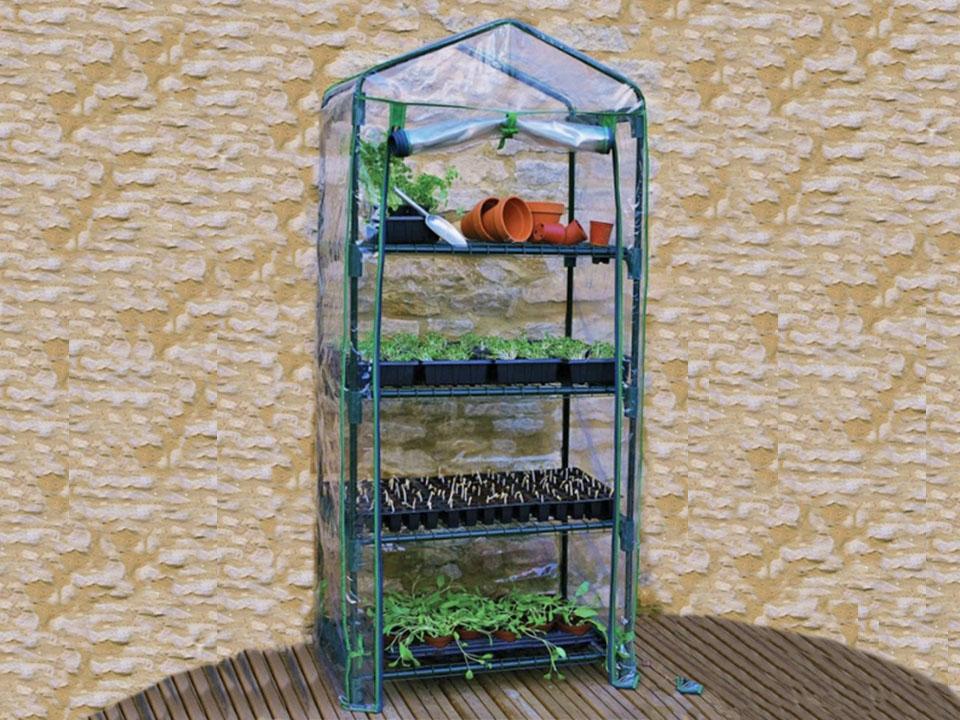
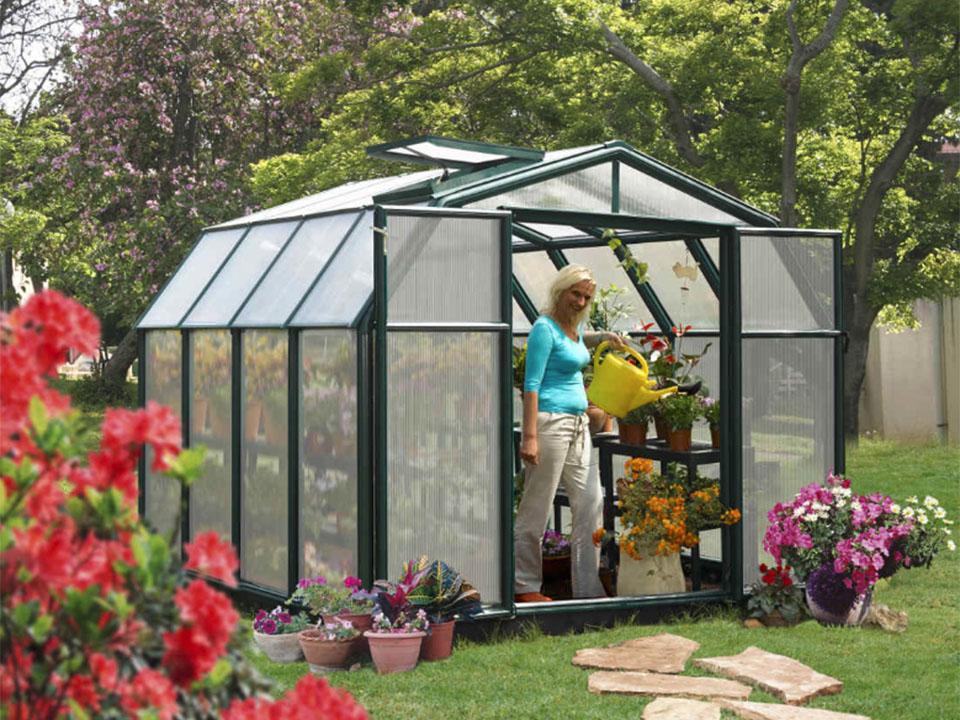
Even if you only have a small area where you can build a greenhouse, you can get loads of plants growing healthily. One of the many advantages of greenhouses is the ability to grow plants vertically, so be careful not to go for something larger than you actually need.
While the necessary dimensions of your greenhouse are probably smaller than you think, you should also allow for expansion. We know from experience just how addictive and rewarding greenhouse gardening can be, and we also know how heartbreaking it can be to hit a dead end because you’ve run out of space.
Because of this, we recommend getting a greenhouse that’s one or two sizes larger than you think so you have room to grow with your hobby.
Selecting the ideal location
Ideally, the site should receive ample sunlight throughout the day, preferably facing south to maximize exposure. Also, make sure that there aren’t any obstructions above the location that could block out the sunlight.
Additionally, consider factors like proximity to a water source, accessibility for maintenance and harvesting, and whether or not you’re going to run any electrical cabling for an aquaponics greenhouse.
We’ve got a whole article on choosing the right direction for your greenhouse to face that covers everything you need to know about optimizing sun exposure based on your location. The key here is to find your daily sun hours, which affects everything from how warm your greenhouse will get to how much ventilation you need.
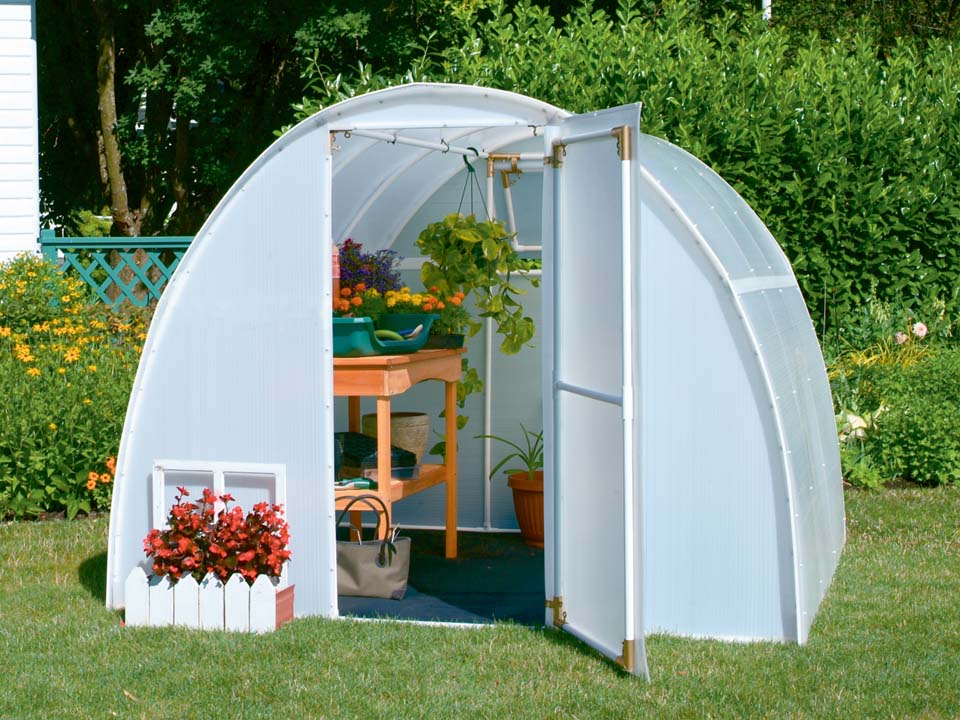
Determining the type and size of greenhouse
Once you’ve identified the location, it’s time to decide on the type and size of your greenhouse.

Consider your gardening goals and the plants you intend to grow. Will you focus on seed starting and propagation or create a space for year-round cultivation? Understanding your objectives will help determine whether you need a small greenhouse or a larger structure for commercial production.
Climate considerations
If you live in an area with extreme temperatures, high winds, or heavy snowfall, you need to design your greenhouse accordingly.
Consider adding insulation, reinforced framing, or additional support structures to withstand the elements and ensure the optimal growing environment for your plants.
Designing the layout
This involves planning the interior space, pathways, and organization of plants and accessories.
Consider factors such as efficient space utilization, proper airflow, and easy access for maintenance and harvesting. Create a blueprint or sketch to visualize the layout, keeping in mind the diverse needs of different plant varieties and the workflow within the greenhouse.
Incorporating essential features
During the planning and design phase, you need to consider where you’re going to incorporate the essential features of your greenhouse.
These are your airflow systems such as vents, louvers, and fans. Fans need strong ceiling support, vents need a space to install them on the greenhouse wall.
Then consider where you’re going to install irrigation systems and watering systems and maintain optimal humidity levels. If your greenhouse is smaller, this isn’t necessary since you can probably manage the watering requirements manually.
By investing time and thought into the planning and design of your greenhouse, you set a solid foundation for a successful and efficient growing space. With careful consideration of space, climate, and functionality, your greenhouse will be tailored to your needs and maximize the potential for a thriving garden.
Greenhouse materials and tools
Building a greenhouse requires careful consideration of the materials and tools you’ll need to ensure a sturdy and functional structure.
Choosing the right materials to make your greenhouse is key depending on what you want to get from it and how well it will do in the conditions in your garden.
Essential materials for greenhouse construction:
What your greenhouse is made of will affect almost everything about it. How weather-resistant it is, the heat and airflow, and your ability to expand it later are all factors you need to consider.
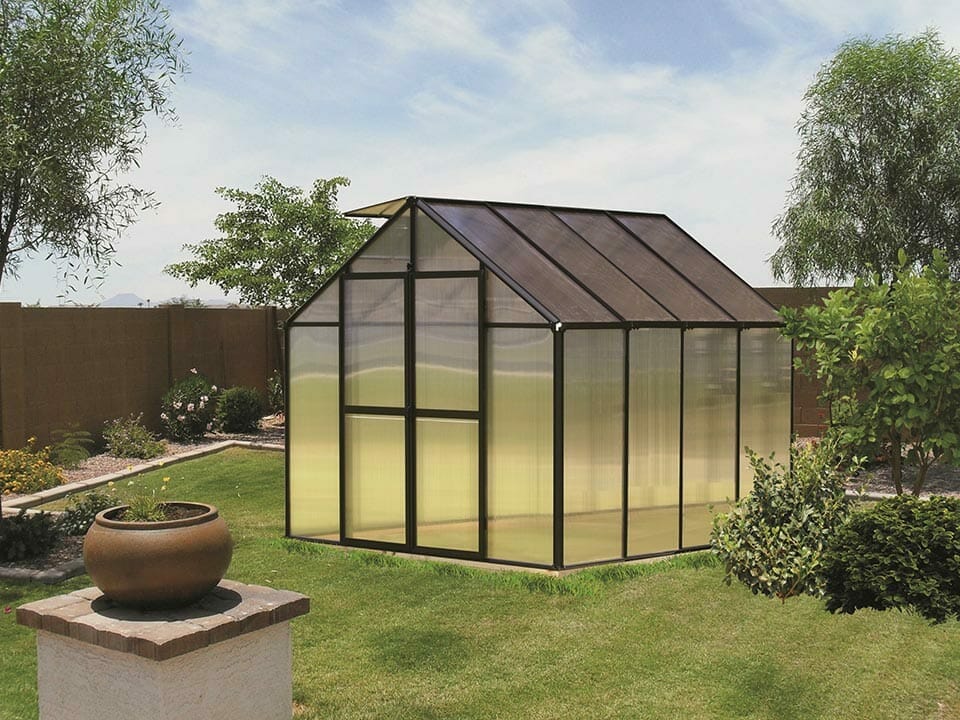
Frame materials:
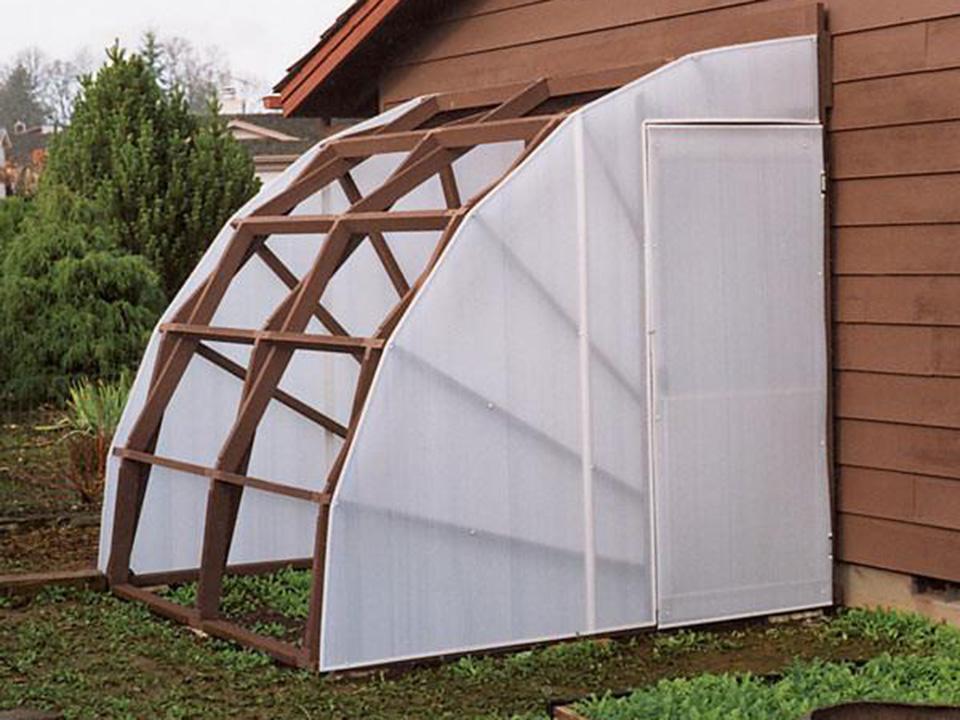
- Wood: Commonly used for its affordability, versatility, and aesthetic appeal. Cedar, redwood, and pressure-treated lumber are popular choices due to their durability and resistance to decay.
- PVC: Lightweight, affordable, and easy to work with. PVC pipes and connectors are ideal for constructing small to medium-sized greenhouse frames.
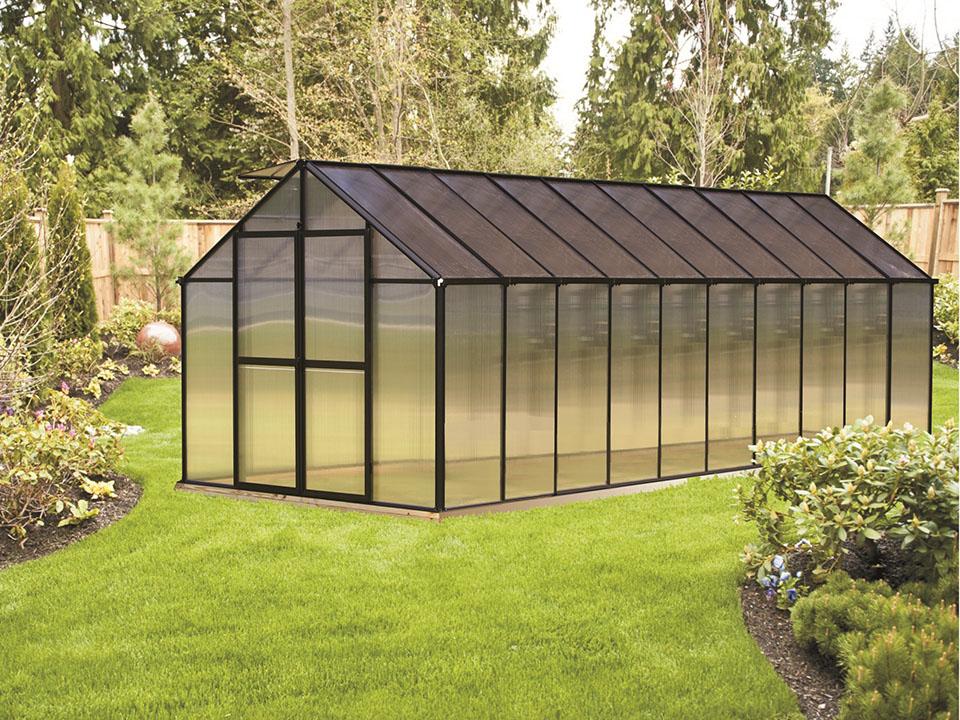
- Metal: Provides excellent strength and durability. Aluminum and galvanized steel are popular choices due to their resistance to rust and corrosion.
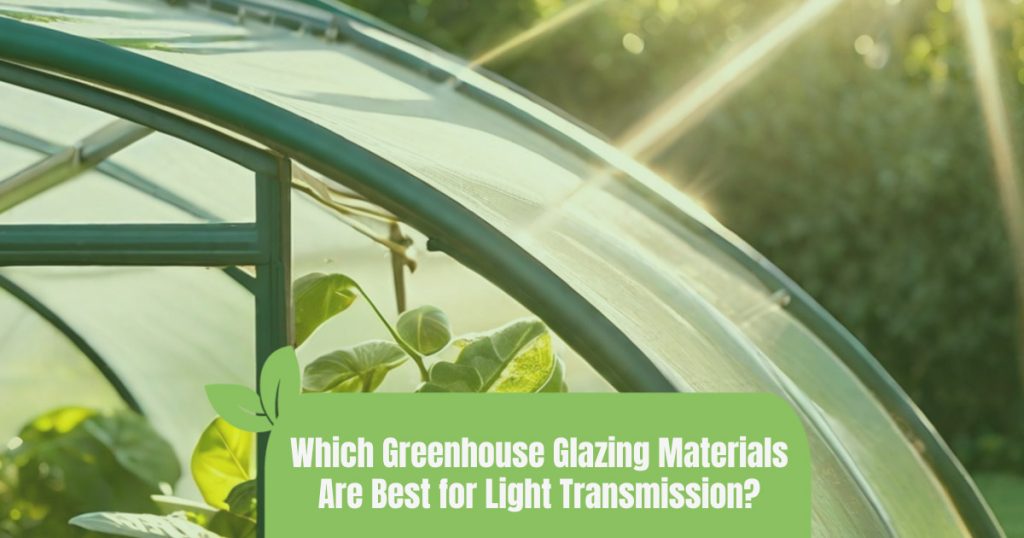
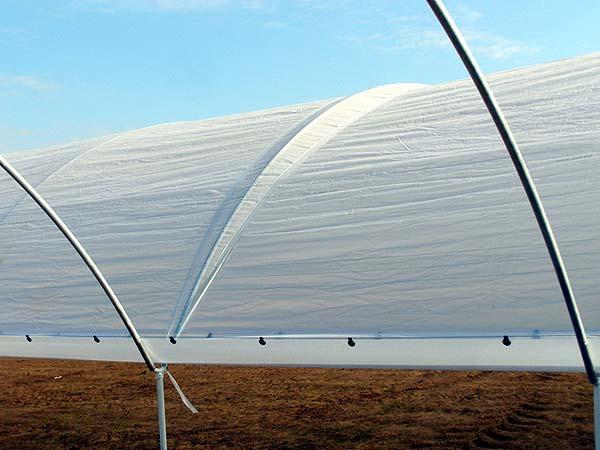
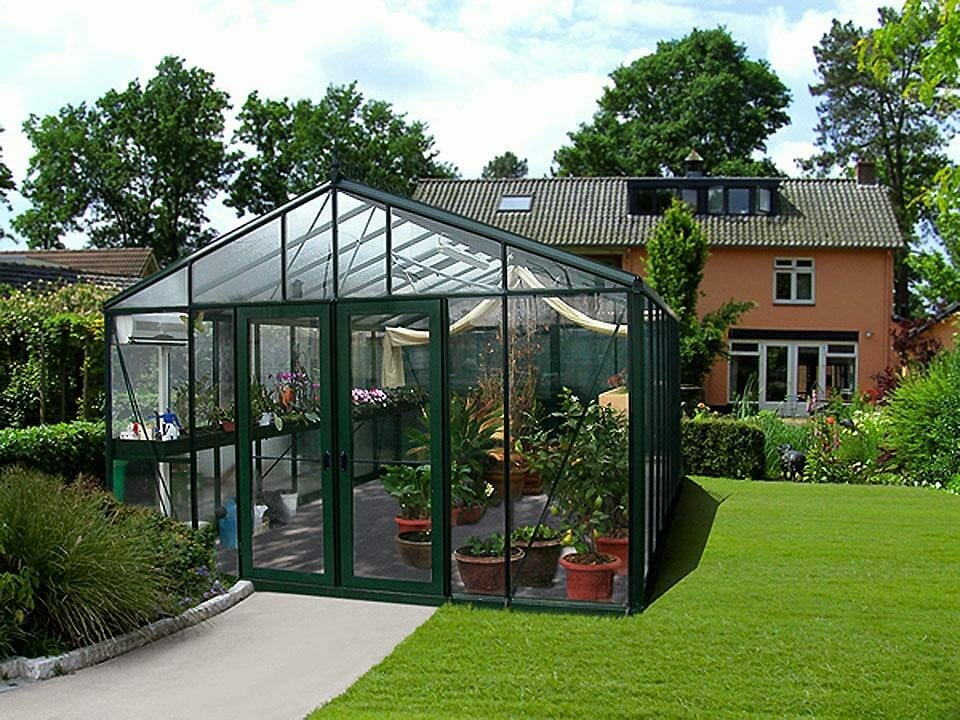
Covering materials:
- Glass: Offers high light transmission and excellent longevity. It provides an aesthetic appeal but it requires careful installation.
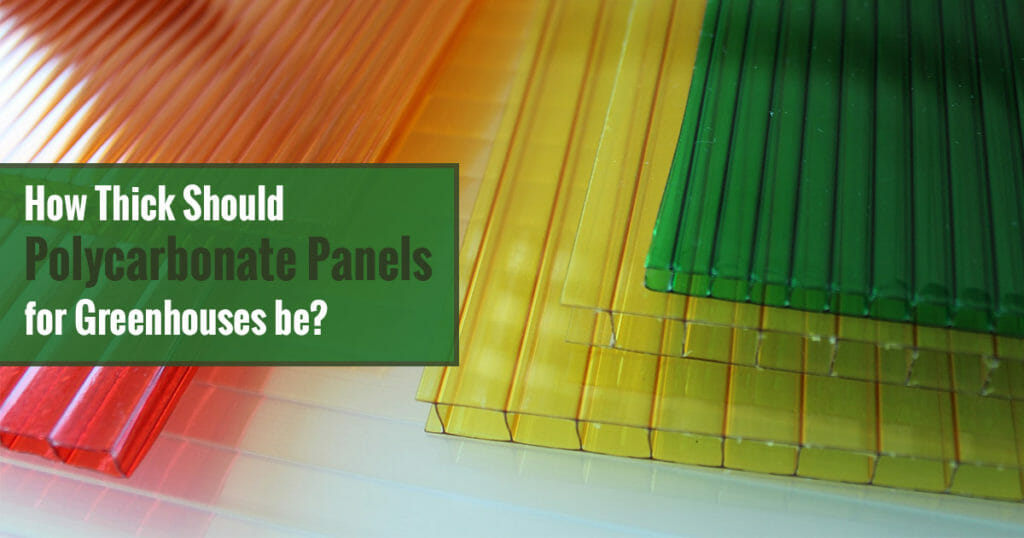
- Polycarbonate: Lightweight, shatterproof, and offers good insulation properties. It’s available in various thicknesses and provides excellent light diffusion.
- Polyethylene film: Cost-effective, versatile, and easy to install. It provides good light transmission and is suitable for temporary or budget-friendly greenhouse structures.
We’ve got loads of greenhouse covering material that you can choose from that will meet any need you have.
Foundation materials:
- Concrete: Provides a solid and long-lasting foundation. It is suitable for permanent greenhouse structures.
- Treated wood: Pressure-treated lumber is commonly used for foundation frames, providing resistance against decay and insect damage.
- Gravel or crushed stone: Used as a base layer for improved drainage and stability.
Insulation and sealing materials:
- Weather stripping: Helps seal gaps around doors, windows, and vents to prevent heat loss and drafts.
- Caulk or sealants: Used to seal joints, gaps, and edges to maintain airtightness and prevent moisture intrusion.
Fasteners and hardware:
- Screws, nails, or bolts: Required for joining various components of the greenhouse frame and structure.
- Brackets and corner connectors: Provide additional support and reinforcement at critical joints.
- Hinges and latches: Essential for doors and windows, ensuring proper functionality and security.
Prepping your greenhouse site
Proper site preparation ensures a level foundation, adequate drainage, and optimal growing conditions for your plants.
- Clearing the area
Start by clearing the designated area of any vegetation, or debris that may hinder the construction process.
Remove rocks, tree stumps, and any other objects that could affect the stability or layout of the greenhouse. This will provide a clean and open space for your greenhouse structure.
- Leveling the ground
Use a shovel or a garden rake to remove any high spots and fill in any low areas. Ensure the entire area is even and smooth to prevent water pooling and uneven settling of the structure.
It’s crucial to get this step right since you can’t really correct it later on. Measure twice, cut once.
- Addressing drainage
Ensure the site is properly graded to allow water to flow away from the greenhouse.
If needed, dig a gentle slope around the greenhouse outline or install drainage pipes to divert excess water. The foundation needs to be flat, but having ground sloping around it helps water flow freely and prevents your soil from getting waterlogged.
- Weed prevention
Lay down weed barrier fabric or apply a layer of mulch to suppress weed growth. This will save you time and effort in the long run by minimizing the need for ongoing weed management. It also means that all the nutrients in your soil go toward your plants, not invaders.
- Consider environmental factors
Take note of the direction and intensity of prevailing winds, as well as the potential for shade from nearby structures or trees. Strategically position your greenhouse to maximize sunlight exposure and minimize wind impact, creating optimal growing conditions for your plants.
You want to keep the broad side of your greenhouse away from any strong winds that could cause structural damage, especially if you’re relying on lightweight materials like PVC.
- Accessibility and utility connections
Consider the accessibility of your greenhouse site for maintenance, watering, and electricity connections.
Ensure there’s a clear pathway leading to the greenhouse entrance and sufficient space to maneuver equipment or wheelbarrows. If you plan to install utilities such as electricity or water, consult with professionals to make the necessary connections safely.
Taking the time to clear the area, level the ground, address drainage concerns, and consider environmental factors ensures the long-term success of your greenhouse project. With a well-prepped site, you can proceed with confidence to the next stages of building your greenhouse.
Setting the greenhouse foundation
The foundation of your greenhouse is the backbone that provides stability, support, and proper drainage for the structure. Even smaller greenhouses or greenhouse kits need a proper foundation to keep the structure safe from the elements and protect the plants inside.
Foundation type:
Make sure to read the “Materials” section above to choose the correct foundation material.
Construction process:
Layout and marking
Use measuring tape and marking tools to determine the exact dimensions and layout of your greenhouse. Mark the perimeter of the foundation using stakes and string or chalk lines, ensuring precise placement according to your plans.
Excavation (if required)
Depending on the foundation type, you may need to excavate the area.
For concrete slabs or perimeter walls, dig a trench to the required depth (below the frost line if you’re in a colder area), allowing for proper thickness and reinforcement. Remove any excess soil or debris from the excavated area.
Frame construction
If you opt for a treated wood frame foundation, use pressure-treated lumber. This squeezes out most of the air holes and pores that could allow pests and mold.
Secure the frame with screws or nails, taking care to join the components securely.
Pouring concrete (if applicable)
If you choose a concrete slab foundation, prepare the area for pouring the concrete.
Install formwork to create the shape and containment for the concrete. Follow the instructions provided by professionals or consult local building codes to ensure proper concrete mix and curing process.
Correct drainage:
Proper drainage is vital to prevent water accumulation around the greenhouse, which can lead to structural damage and negatively impact plant health. Here are key considerations for ensuring correct drainage:
Perimeter drainage
Incorporate a perimeter drainage system, such as perforated drainpipes, around the greenhouse foundation. These pipes will collect excess water and direct it away from the structure, preventing waterlogging and potential damage.
You can also dig a slight slope around your foundation after it’s set. This guides water away from your greenhouse during heavy rain and helps conserve the heat inside. Just make sure to give the foundation a few feet of space between the slope or trench, as the running water could damage its integrity.
Gravel or crushed stone
For concrete slab or perimeter wall foundations, consider adding a layer of gravel or crushed stone beneath the foundation. This layer aids in proper drainage by allowing water to percolate through, minimizing the risk of water accumulation around the greenhouse.
French drains (if needed)
In areas with high water tables or heavy rainfall, a French drain system can be installed. This system involves trenches filled with gravel and perforated drain pipes, redirecting excess water away from the greenhouse.

Framing the greenhouse
Selecting the frame material
Consider factors such as your climate, budget, and desired greenhouse size when selecting the frame material, each of which is outlined in the “Materials” section above.
Each material has its own advantages and considerations, so choose the one that best suits your needs.
Building the frame and skeleton of the greenhouse
Once you have selected the frame material, it’s time to start building the frame and skeleton of your greenhouse. Follow these general steps:
- Prepare the materials: Measure and cut the frame components. Ensure accurate dimensions and smooth edges for proper assembly.
- Frame assembly: Begin by constructing the base of the frame, attaching the frame elements together securely.
- Vertical uprights and walls: Install the vertical uprights and connect them to the base frame. These uprights will support the walls and provide structure for your greenhouse. The material used determines how many vertical supports you need. Stronger material tends to be heavier, so you need more of them to support the ceiling beams.
- Roof assembly: Construct the roof framework, attaching roof beams or rafters to the vertical uprights. If your greenhouse is small, you can assemble the roof separately and move it onto the existing structure. If it’s large or heavy, it’s going to turn into a two-person job.
Adding support beams and crossbars
To reinforce the greenhouse frame and enhance its strength, it’s essential to add support beams and crossbars.
- Support beams: Install support beams along the length and width of the greenhouse, connecting the vertical uprights. These beams distribute the weight of the roof and improve structural integrity.
- Crossbars: Install crossbars horizontally across the frame, connecting the vertical uprights. These crossbars provide additional strength and stability to the greenhouse structure. Consider the spacing between the crossbars based on your greenhouse design and the weight of the cover material.
Greenhouse glazing and covering
The greenhouse cover is key to maintaining heat levels, repelling pests, and allowing airflow. Check out the “Materials” section above to choose the right greenhouse cover for your needs.
Alternatively, our Solexx Greenhouse Covering Panels are a great option for modular cover pieces that you can use to extend an existing greenhouse or start one from scratch.
Properly installing and sealing the greenhouse cover
To ensure the effectiveness of your greenhouse covering, proper installation and sealing is crucial. Follow these steps for a successful installation:
Frame preparation
Ensure that the greenhouse frame is clean, free from debris, and structurally sound. Repair any damaged or weak areas before proceeding with the installation.
Securing the cover
Begin by attaching the covering material at one end of the greenhouse frame. Secure it using clips, screws, or other fasteners suitable for your chosen material. Avoid anything that could make holes in the covering as that could cause an opening for pests and mould.
Pull the covering taut and attach it along the sides and opposite ends of the frame, ensuring a snug and secure fit.
Sealing and weatherproofing
Pay close attention to sealing and weatherproofing the greenhouse cover to prevent air leaks and water infiltration. Use weatherstripping or specialized greenhouse tape to seal gaps between the covering and the frame, particularly at the edges, seams, and joints.
Maximizing insulation and light transmission
To optimize insulation and light transmission in your greenhouse, consider the following:
Insulating layers
If you choose a double or triple-walled covering material like polycarbonate, ensure that the channels between the layers are clean and free from debris. This trapped air provides additional insulation and helps regulate temperature fluctuations.
Caulk also works as an excellent insulating layer. It’s cheap, easy to use, and works to keep dirt, water, and debris out of your greenhouse.
Shade and heat control
Consider adding shade cloths or blinds to regulate light intensity and reduce excessive heat buildup during hot seasons. These additions protect delicate plants and prevent overheating, especially during the seedling stage when plants are most vulnerable.
Ventilation and airflow
Properly installed vents, windows, and fans facilitate proper airflow and temperature control, preventing stagnant air and humidity buildup. Utilize these ventilation features to regulate temperature and ensure a healthy growing environment.
Getting greenhouse confidence
And that’s everything you need to get started on your greenhouse adventure. It may seem like a lot to take in at first, but there’s really no reason to worry.
Remember, this is a long-term project, so you should take your time to familiarize yourself with all of the steps and materials involved. The more thought you put into it at the outset, the better the result will be and you’ll have healthy, happy plants for years to come.