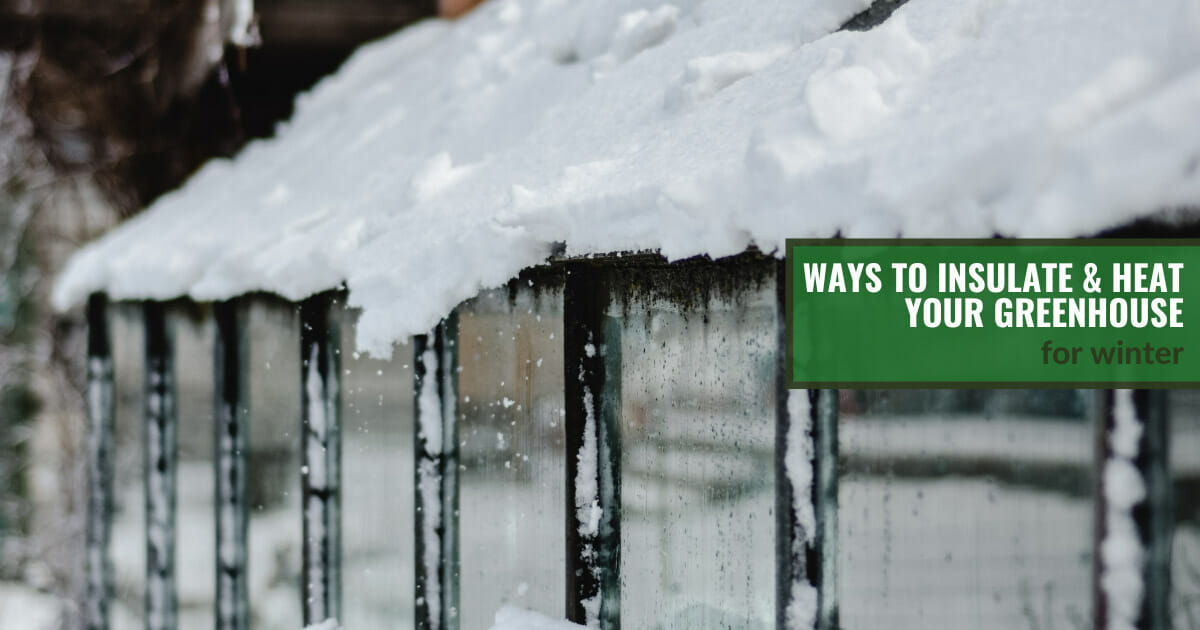
A greenhouse is your best ally if you want to keep growing fruits and vegetables throughout the winter. But in colder climates, your plants will need a helping hand to survive freezing temperatures. This article will show you 16 DIY ways to insulate & heat your greenhouse for winter.
Heating your greenhouse can be expensive, especially if you’re using gas or electricity. Also, burning wood or fossil fuels does raise environmental concerns. Luckily, there are many alternative methods you can use to keep heat inside your greenhouse without running heaters:
- Seal any gaps and cracks
- Insulate the entrance
- Insulate the foundation
- Insulate the north-facing wall
- Insulate the interior using bubble wrap
- Install an energy curtain
- Build a windbreak
- Add thermal mass
- Make a flower pot heater
- Protect your plants with horticultural fleece
- Use mulch to insulate plant roots
- Keep individual plants warm with cloches
- Grow your plants in raised beds
- Convert raised beds into cold frames or hotbeds
- Use compost as a heat source
- Use snow as a natural outdoor insulation
By providing extra insulation, adding thermal mass, and making the most of other DIY tips and tricks, you can keep plants safe from the cold even when temperatures drop as low as 0°F. Keep reading to find out about our favorite ways to insulate and heat your greenhouse during winter!
Why is it important to keep your greenhouse warm?
Even without any additional insulation, you can expect a typical greenhouse to maintain a slightly warmer temperature than the air outside.
This is thanks to the greenhouse effect: heat gets absorbed by plants and objects throughout the day and is then trapped inside, dissipating slowly throughout the night.
However, even a greenhouse isn’t safe from freezing when temperatures drop substantially below 32°F. Luckily, there are many ways to keep the heat trapped inside of your greenhouse for longer, without installing and running costly heaters.
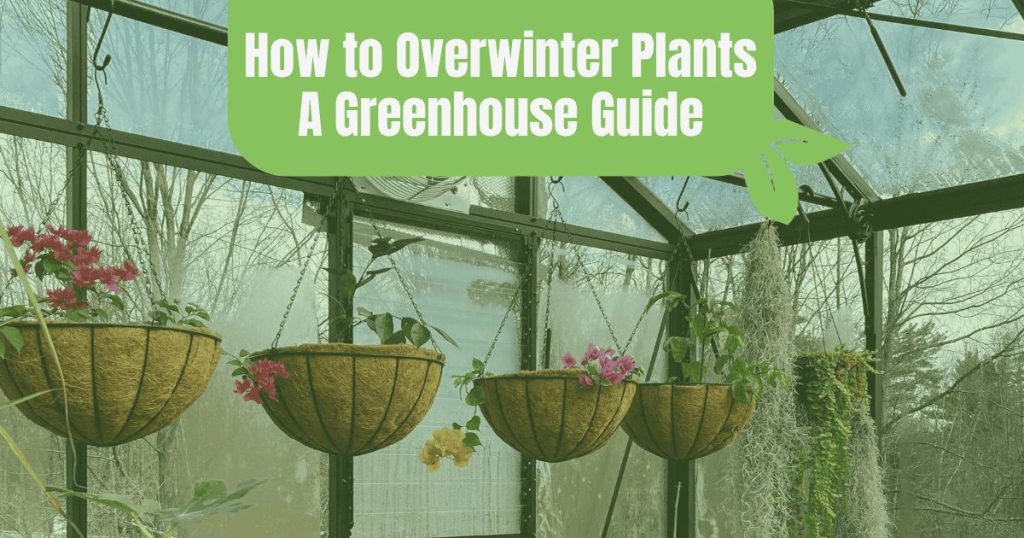
But why should you bother insulating your greenhouse in the first place? If you’re trying to overwinter plants inside your greenhouse, you’ll want to protect them from freezing temperatures. Plus, keeping your greenhouse temperature well above freezing allows you to continue growing all year long!
While you may not be able to grow tomatoes without substantial heating and lighting supplementation, there are many other plants that can grow in an unheated greenhouse. You can also make the most out of your greenhouse by starting your warm season plants ahead of the summer months.
How to keep heat inside of your greenhouse: 16 DIY methods
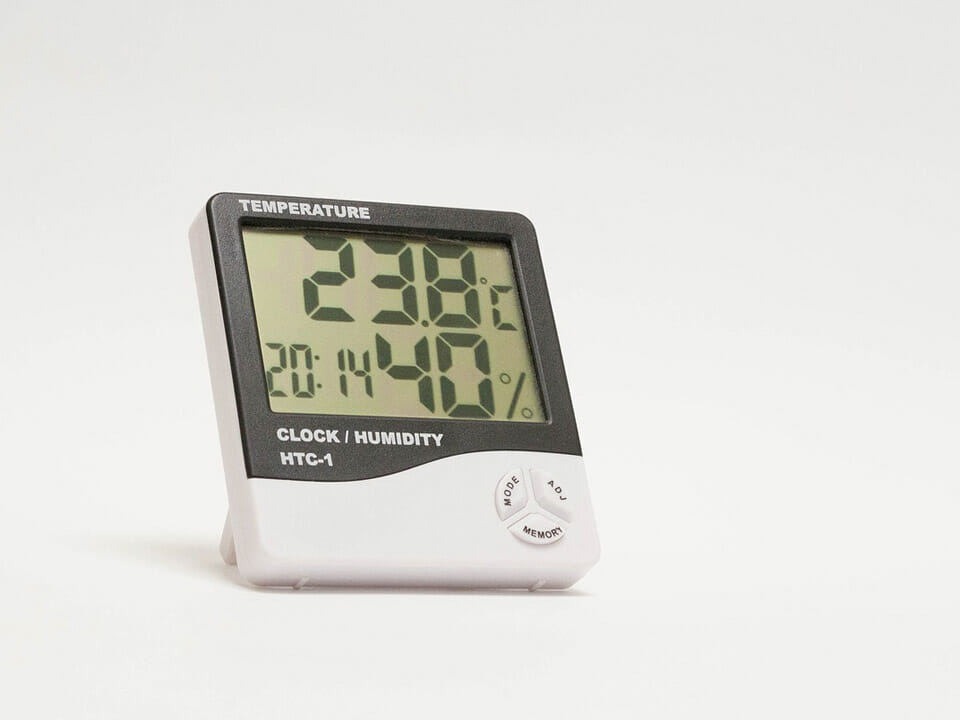
As winter approaches, you’ll start to notice temperatures dropping, particularly at night. If you haven’t done so already, make sure you have a greenhouse thermometer to monitor temperatures throughout the day and even night. We recommend a thermometer/hygrometer combination so you can keep track of humidity levels at the same time.
It’s best not to wait too long before you start insulating your greenhouse against the cold. The longer you wait, the more your plants are potentially exposed to their first frost, which you want to avoid or at least prolong.
Below you’ll find 16 DIY methods that you can use to trap heat inside your greenhouse. For best results, try combining multiple methods, especially if you plan to continue growing throughout the winter.
Seal any gaps and cracks
Any gaps or cracks in your greenhouse walls will let the cold air in and allow precious heat to escape. Before you start adding layers of insulation materials, it’s important to seal any leaks to avoid your hard work simply seeping away through the cracks.
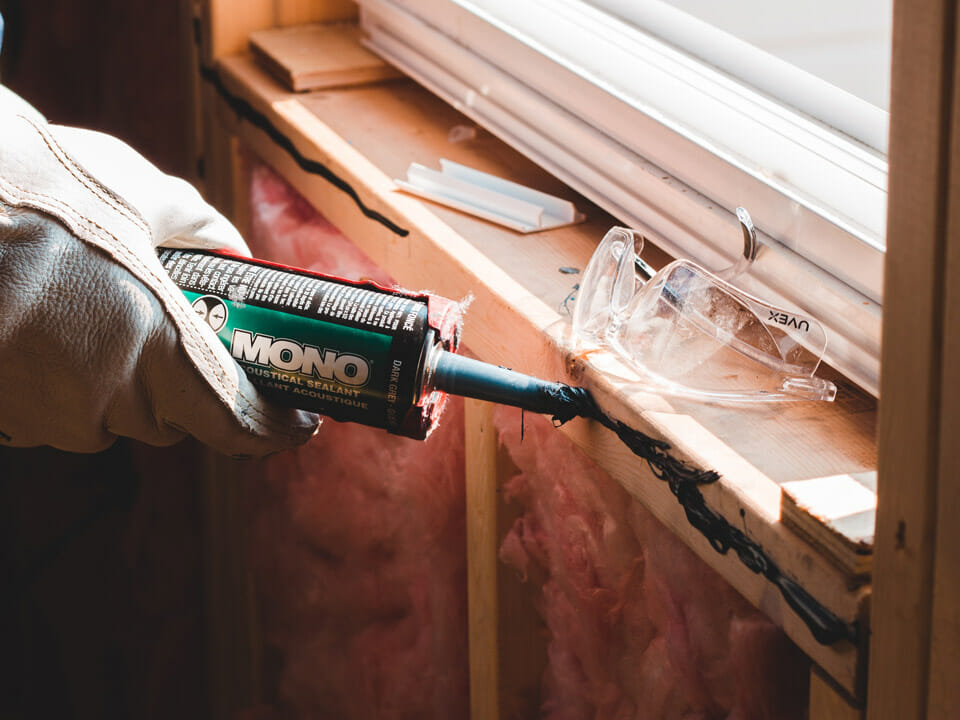
Start by checking the joints around the vents and door, and use caulking to seal any cracks. If you find any large gaps, you can use expanding foam to seal them off. Next, inspect the greenhouse wall and roof panels, and replace any that are cracked or damaged.
Insulate the entrance
The entrance to your greenhouse is likely going to be the cause of much heat loss, simply by opening and closing the door each time you enter or leave the greenhouse. While necessary, you can significantly reduce heat loss by insulating the entire entrance.
Use a layer of greenhouse film to cover the exterior of your door. In very cold climates, you can add a second layer on the inside. These extra layers create an airlock that prevents heat from escaping whenever you open the door to your greenhouse.
Insulate the foundation
A greenhouse will not only lose heat from the walls and the roof, but also from the bottom of the structure. Insulating the foundation will prevent heat losses below the frost line, while also allowing the soil underneath to store thermal mass.
Even something as simple as placing a 2-inch polystyrene or polyurethane board about a foot underground can increase soil temperature near the base and sidewalls of your greenhouse.
Insulate the north-facing wall
If you had to choose, it’s worth putting more effort into insulating the north-facing side of your greenhouse than any other side. That’s because the north side will receive the least amount of sunlight throughout the day, and therefore remain colder. Doing your best to winter-proof this wall will prevent heat loss without blocking light.
You can start by covering the interior north-facing wall with a sheet of reflective insulation. This creates a barrier that prevents heat leaks, while also reflecting the heat from the sun back into the greenhouse.
Another solution is covering the wall with a sheet of phase-change material (PCM). This material can provide passive heating that will increase nighttime temperatures inside your greenhouse by up to 48°F. It’s a bit more expensive, but when used correctly it can supply up to 30% of your greenhouse heating needs.
Don’t forget about insulating the exterior of the north-facing wall. Use a pile of fallen leaves or other plant debris as a natural insulation along the base of the northern sidewall. Straw bales are another great option and, come spring and summer, you can repurpose them by turning them into mulch or compost.
Insulate the interior using bubble wrap
Bubble wrap is a relatively cheap and effective way to cold-proof your greenhouse. The air in the bubbles adds an insulating layer that keeps the warmth in and the cold out. The wrap also lets plenty of light in, so you don’t have to worry about your plants not getting enough sun or your seedlings becoming leggy.
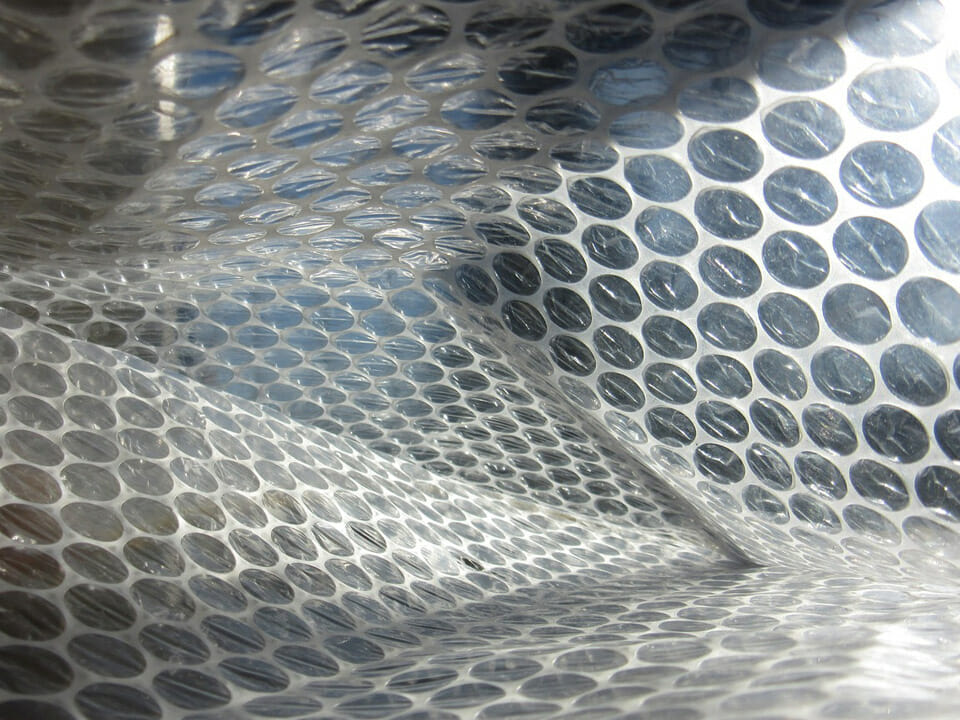
For best results, use horticultural bubble wrap, which is sturdier and has bigger air bubbles. Regular bubble wrap (the kind that you can pop between your fingers) won’t provide sufficient insulation.
Install an energy curtain
Energy curtains can help you minimize temperature fluctuations in your greenhouse. Also known as thermal curtains, they provide an additional layer of insulation that prevents thermal loss during the night. If you can invest in aluminized curtains, they will also reflect the heat generated by your plants and structures back into the greenhouse.
Plus, you can even use them during the summer. These curtains can provide shading and help cut down on your greenhouse cooling costs.
Build a windbreak
Cold, icy blasts can make your greenhouse lose heat faster during winter. An easy way to prevent this is by installing a windbreak.
Shrubs and small trees act as natural wind blockers, and they can also prevent snow drifts. But if you don’t have them growing in your garden, there are a couple of alternatives you can use.

One option is to build a barrier using windbreak fence mesh. Or, if you’d rather go for a more natural look, you can use hazel or willow panels.
A good windbreak should allow some of the air to pass through. This may seem counter-intuitive, but if the windbreak is too dense, it can create a turbulence-like effect. Avoid using solid plastic or wood panels.
Also, remember to place the windbreaks in a way that doesn’t block the sunlight from entering your greenhouse.
Add thermal mass
The cheapest way to keep your greenhouse warm is to store as much of the thermal energy provided by the sun as possible. To achieve this, use objects and materials with high thermal mass to build heat sinks. They will absorb and store heat throughout the day, then slowly release it during the night, when temperatures drop the most.
Plastic bottles and jugs filled with water make excellent heat sinks. Place them close to the north-facing wall of your greenhouse. The sun warms the water during the day. After sundown, they act as low-cost storage heaters, regulating the temperature inside the greenhouse.
Another way to add thermal mass is by using bricks or paving tiles that absorb the heat throughout the day and release it at night. If you can paint them black, even better! Black objects absorb and retain heat better, and are a cost-effective way to increase the temperature inside the greenhouse.
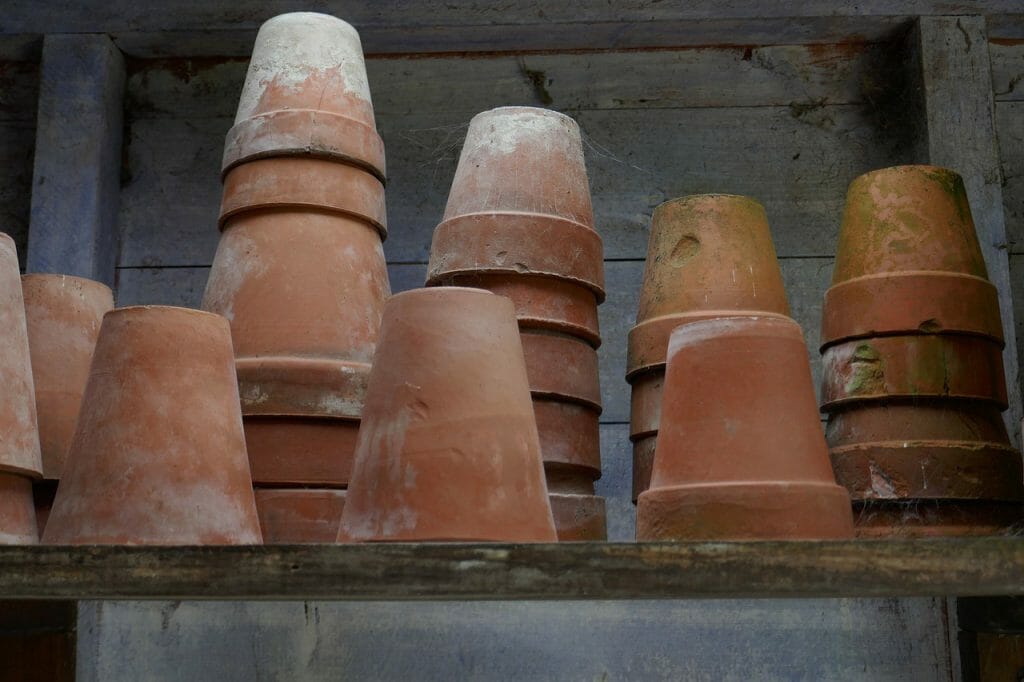
Make a flower pot heater
DIY terracotta flower pot heaters are another budget-friendly way to warm up your greenhouse without using any electricity. Making one is very simple and requires a few basic materials:
How to make a flower pot heater
- What you need:
- A 6-inch terracotta pot
- An 8-inch terracotta pot
- 4 tea light candles
- 2 bricks
- Instructions:
- Step 1: Use the bricks to create an elevated base.
- Step 2: Put the 6-inch pot upside down on top of the bricks, then put the 8-inch pot on top of the smaller pot.
- Step 3: Place the candles under the pots, and light them up.
The candles will burn for about 5 hours and, by warming the two terracotta pots, they will create a small space heater. On very cold nights, a few “candle heaters” will be enough to keep temperatures inside a small greenhouse above freezing when insulation alone won’t do.
To avoid any accidents, keep your flower pot heaters on a flat, stable, fire-proof surface, and away from any flammable materials.
Protect your plants with horticultural fleece
Adding a layer of horticultural fleece is a simple way to protect tender crops from the cold. This light and breathable material allows air, light, and water to pass through, while providing much-needed insulation.
Use it to cover your raised beds if you’re growing winter greens, kale, parsnips, or Brussels sprouts. If the weather forecast predicts temperatures below 0°F, you can add up to three layers without any danger of smothering the plants.
Plant fleece can also help you protect citrus trees, such as lemons or limes. These plants won’t tolerate temperatures well below 50°F. If you take a long sheet of fleece and wrap it around the plants and pots, it will help keep them safe from the cold until the weather warms up again.
Use mulch to insulate plant roots
A thick layer of mulch works wonders in protecting plant roots from freezing temperatures. Plus, it’s a great way to winterize crops such as strawberries, garlic, and onions planted from sets.
Straw is an excellent winter mulch, but you can also use dry leaves, pine needles, wood chips, or shredded bark.
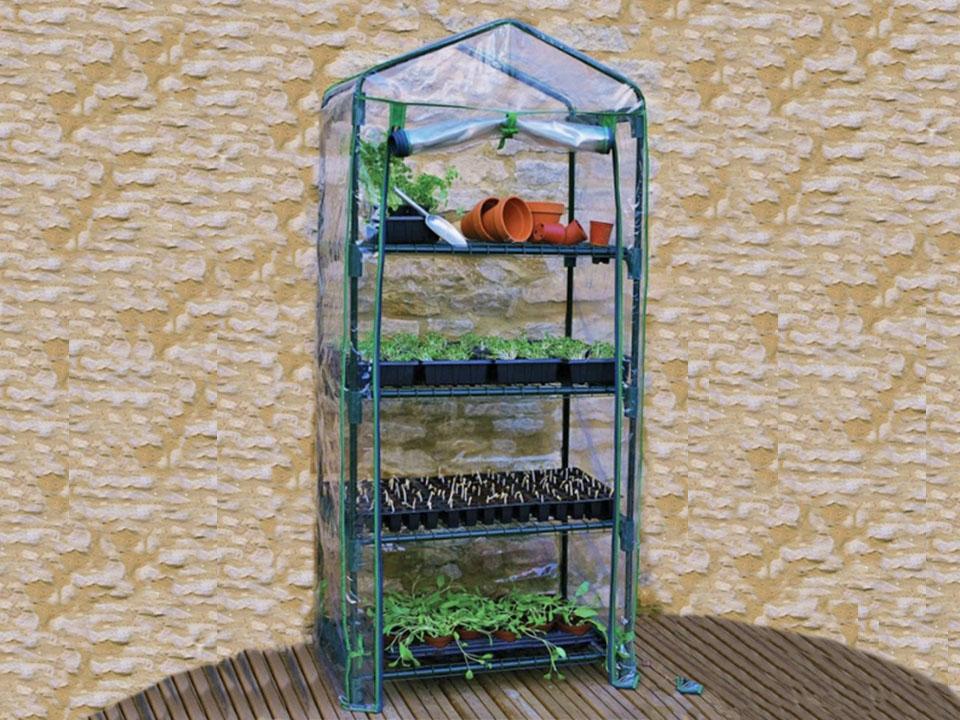
Keep individual plants warm with cloches
Cloches have been used for centuries to protect and insulate frost-tender plants. They create a mini-greenhouse effect, which can help extend the growing season of heat-loving crops. Use them to insulate individual plants, or to cover propagation trays and seedlings.
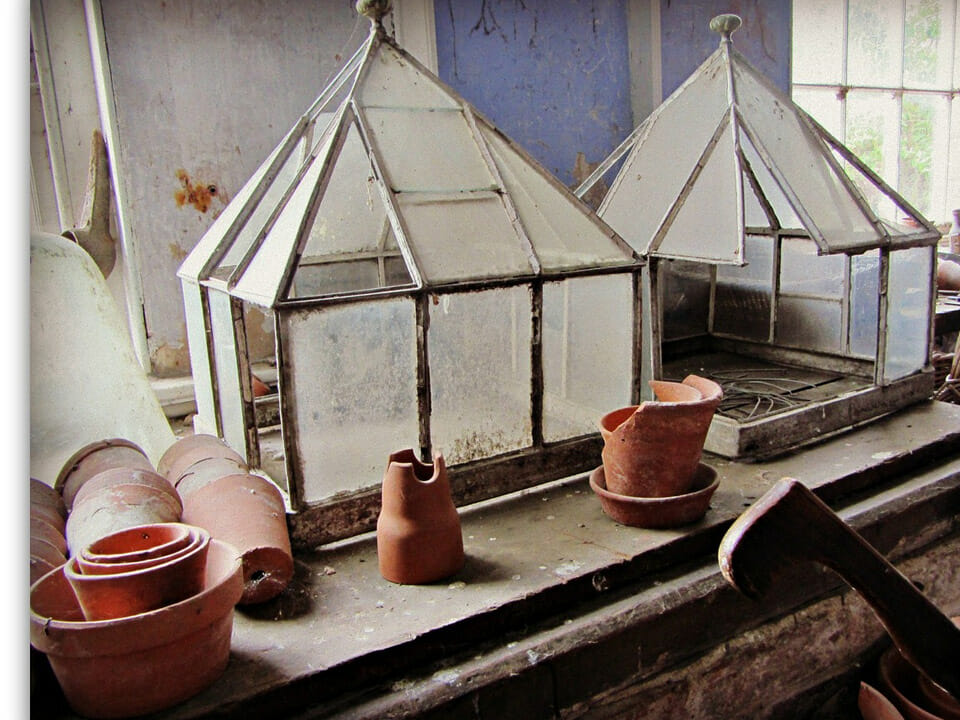
Glass is the best material for a cloche. But, in a pinch, you can upcycle plastic bottles or jugs. Try to use a transparent material, to avoid blocking out the light.
Grow your plants in raised beds
Bigger objects retain heat better than smaller ones, and they’re a better choice for adding thermal mass. In this case, a raised bed will keep the soil warm for longer than a pot would. This reduces the risk of the soil freezing over completely and damaging your plants’ roots.
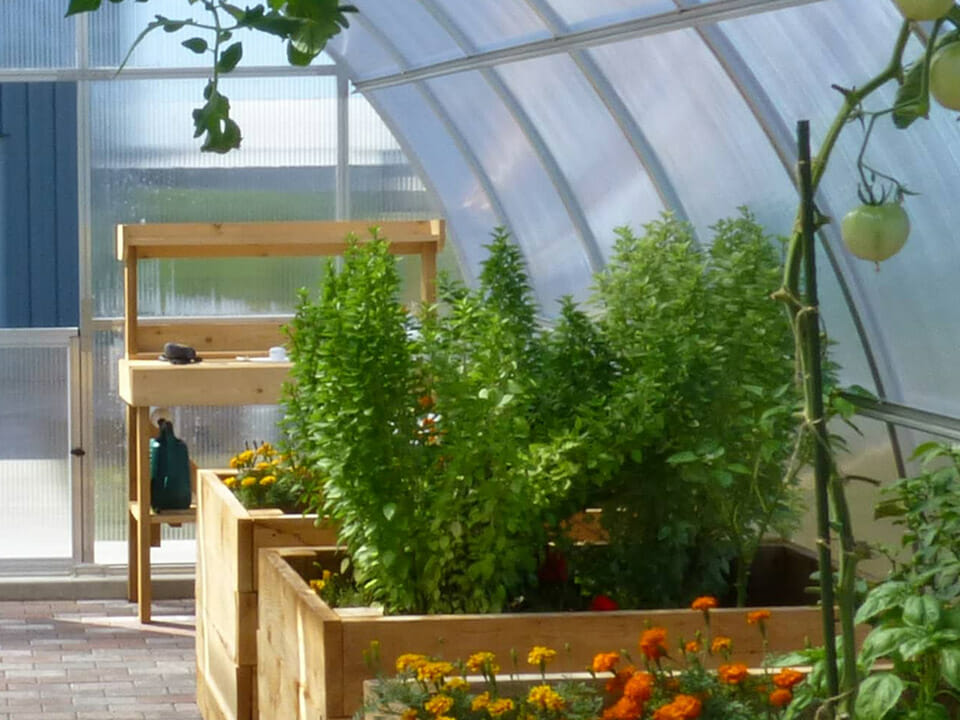
Raised beds are also easier to insulate from the cold. You can simply cover them entirely with horticultural fleece or a layer of greenhouse plastic sheeting. Or, if you want to go the extra mile, you can even build a mini hoop house on top of a raised bed, to add an extra layer of protection against cold.
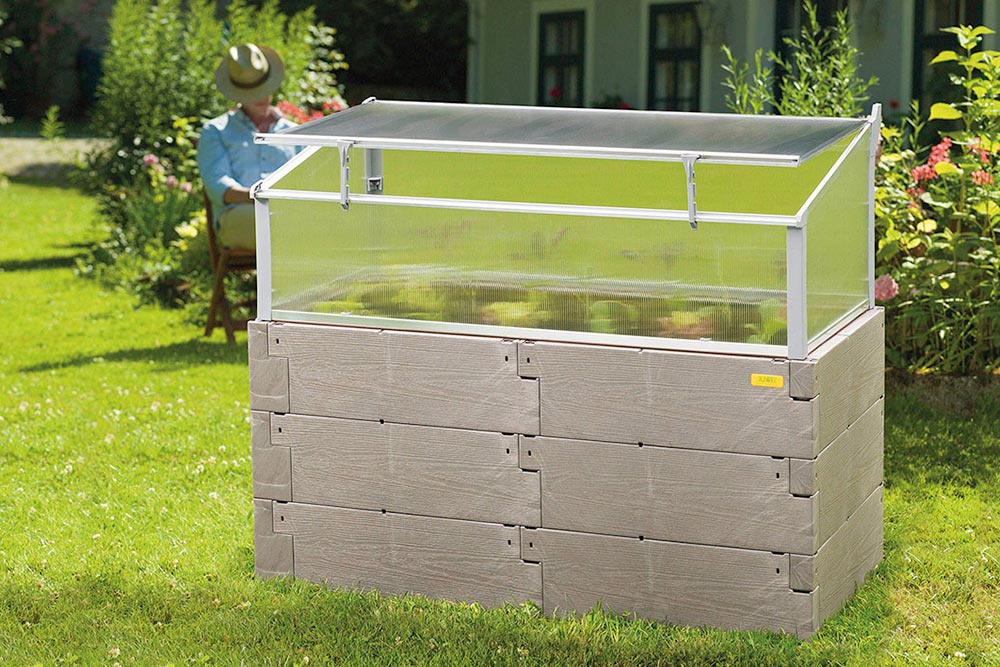
Convert raised beds into cold frames or hotbeds
Turning your raised bed into a cold frame is a simple DIY project that will protect your seedlings from the cold and help them grow faster. All you need is four wooden boards to create a frame and a glass or plastic panel for the lid. Screw the boards together, and then put the glass panel on top. Make sure the panel is slightly sloping towards the sun, so that it can absorb as much heat as possible throughout the day.
If you have an unused raised bed, you can convert it into a hotbed. This growing method is similar to a cold frame, but it uses decomposing matter as a heat source.
To make a hotbed, fill the bottom of your raised bed with a 4-inch layer of gravel. Then fill about half of the bed with a mixture of fresh manure and a bit of straw. Add another 4-inch layer of compost on top. Check the temperature of the soil and, when it reaches 75°F, you can start planting your seeds.
The heat emanating from the decomposing manure will warm up the soil from below, creating a warm substrate that helps seeds germinate.
Use compost as a heat source
Making an indoor compost pile is a great way to turn garden waste into plant nutrients. But you can also use it as a passive heat source for your greenhouse.
When done correctly, a compost heap can reach temperatures as high as 150°F. The heat it generates will make a real difference during the freezing winter nights.
Use snow as a natural outdoor insulation
Snow is a wonderful natural insulator. And if you live in an area that gets heavy snowfalls, you can use it to insulate your greenhouse for free.
The easiest thing you can do is simply shovel freshly-fallen snow to the northern side of your greenhouse. The air trapped inside the snow crystals will help create a barrier against heat loss.
If the weather forecast is cloudy, you can also leave the snow on the roof of your greenhouse, especially on the northern side. Remove the snow on sunny days, to allow the sun to penetrate and warm up the greenhouse.
NOTE: Do NOT leave too much heavy snow on the greenhouse! This can damage the structure.
Light, fluffy snow has the best insulating abilities. On the other hand, frozen snow won’t be as effective against thermal losses. Also, make sure that your greenhouse can handle the weight of snow on the roof. A 4-inch layer of snow should be manageable for most greenhouses, but beware of wet snow, which is heavier.
Remember to set realistic expectations
The methods described above will help you insulate and warm up your greenhouse without using electricity or burning fuels. However, they have their limitations, particularly when temperatures drop well below freezing or there are multiple cloudy days in a row.
For example, bubble wrap and horticultural fleece can protect frost-hardy crops from temperatures below 0°F, but they’re not enough to protect tender crops like tomatoes and peppers.
Similarly, water jugs and flower pot heaters can help keep your greenhouse frost-free, but they’re not enough to increase nighttime temperatures to 50°F. If your goal is to grow heat-loving plants, you may consider purchasing a greenhouse heater in addition to improving greenhouse insulation.
The good news is that these simple DIY techniques will prevent your plants from dying of frost. This is a significant advantage if you want to continue harvesting cold-hardy crops throughout winter, or if you’re overwintering potted trees, flowers, or shrubs.