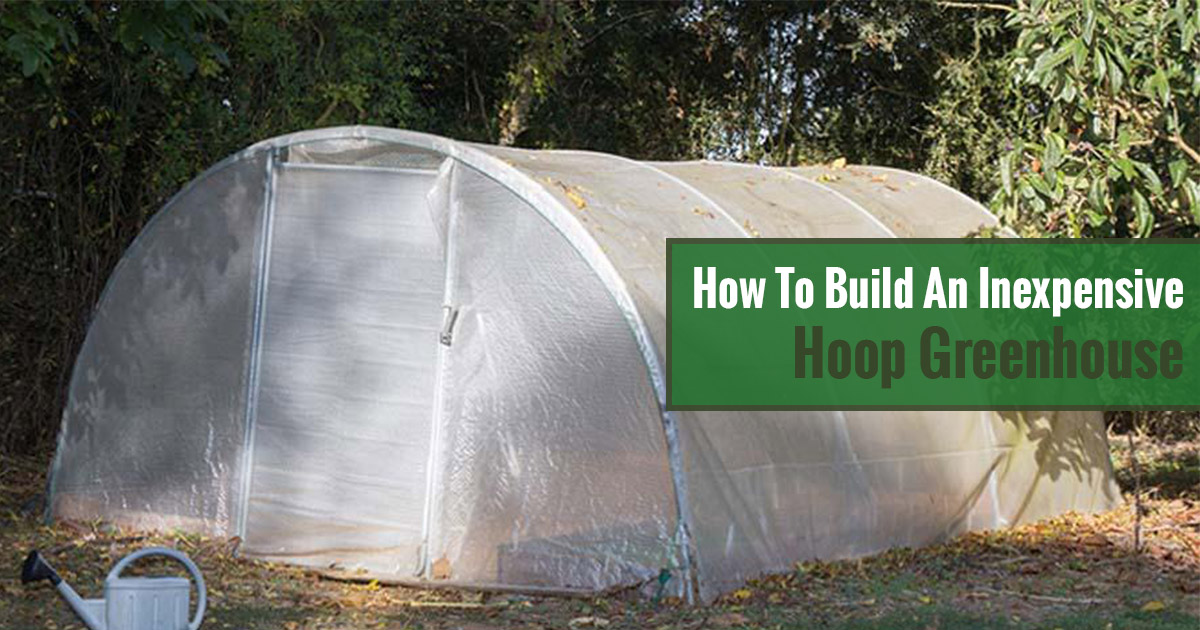
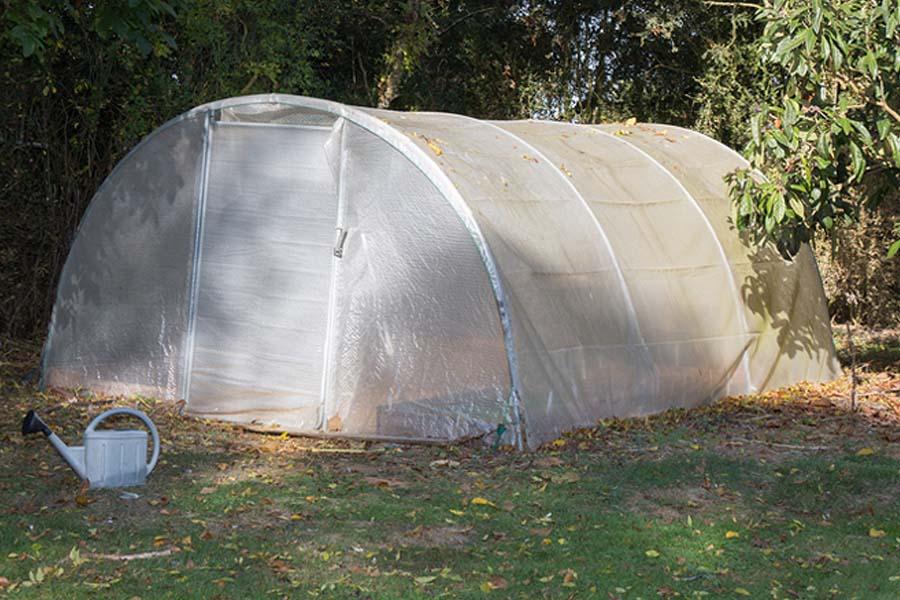
Hoop greenhouses are amazing for growing your plants and gardening year-round, without worrying about the harsh weather. These hoop greenhouses, also known as hoop houses and high tunnels, are far more effective than a bit of plastic sheeting or cheap lean-to greenhouse. They offer you a controlled environment that allows you to grow almost any kind of veggies, herbs, or fruits you can think of. Also, your plants will be protected from predatory pests and animals.
Today, you’ll learn how to build an easy, pocket-friendly, but extremely effective hoop greenhouse.
You’ll need:
- a pack of screws
- door handles
- door hinges
- zip ties
- metal banding
- one 50 4’ wood lathe bundle
- a 20’x50’ roll of 6mm plastic (Check out our Palring 146 or Palring 175 Woven Covering)
- 19 x ¾” x 20’ PVC pipe (white)
- 14 x 2×4 – 12’
- rebar: 9 x 10mm x 10’ piece
- 4 x 2×6 – 16’
- 2 x 2×6 – 12’
Directions:
Setting up the frame
This one’s pretty straightforward: with the 2x6s, start setting up your frame and assemble it. Measure it across obliquely and make sure that you have a nice square.
Attach the hoops
Every 30” rebar piece has to be cut into 10′ segments in order to have 34 pieces. Once you’ve done that, hammer the rebar approximately 15” deep into the soil, on the exterior of the frame at 2 ft stretches. This way, you’ll have 15” perking up of the soil. The next thing you need to do is to slide both PVC pipe’s ends above the rebar in order to obtain a pretty hoop covering the polytunnel’s width. Screw small metal banding segments all over the pipe and join it with the 2x6s.
Build the Ends
Take the 12-inches 2x4s and cut into the following segments: 8 x 1’11¼”, 4 x 5’7″, 4 x 4’7″, 4 x 1’6″, 2 x 4’¼”, and 2 x 11’8¾. Next, put the wall together. The end studs flush with the end, middle studs centered on 2′ from the end, and center studs centered on 3’11¼”. Set your wall inside the 2×6 frame and secure it with screws. Cut 4 x 28” 2×4 sections and cut an end at an angle of 45 degrees. Use the segments to support your wall.
After you have the two ends and all the hoops in place, join 2 pipes and cut both of them in order to be of 32′ length. Now you have the rib that’ll go along your hoops’ top. If you want, you can use the zip ties to fasten it.
Use the Plastic to Cover the Hoop Greenhouse
Working with a wood lathe? Start by cutting 32 segments of 20” lathe. They will keep the plastic tight to the frame’s sides in the middle of each hoop.
Next, arrange the plastic around your hoop greenhouse. Place your plastic tight and add to the 2×6 pieces at an end with the staples or wood lathe. Move to the opposite end, tug tight, and add in the same way. Do the exact same thing in the middle and throughout the remaining hoop greenhouse’s length. Try to make it as tight as possible, but pay attention not to damage the plastic. As a quick tip, if you do this when it’s warm outside, you will deal with less drooping later on.
To easily connect the plastic and the ends, tug the plastic down and connect it with the wood lathe. Afterward, pull it out toward the ends. This way, you will have additional plastic down the edge’s exterior. Fold your plastic back so as to approach the middle and connect. For the door end, cut your plastic out as to leave a couple of inches of overhang to swathe inside and connect.
If you are looking for a high-quality cover material for your hoop house, check out our Palring Woven Covering. It is a new line of greenhouse covers. Two layers of woven polyethylene sandwiching a solid layer.
Look at Palring 146 UV, AF & IR Shiny Woven Greenhouse Cover here!
Look at Palring 175 UV, AF & IR Shiny Woven Greenhouse Cover here!
Add the Door
Start by cutting the 2 x 4’11” and 2 x 3’9″ segments out of the 12-inches 2x4s. Screw them together and assemble the frame of your door. Lay a 2×4 obliquely across the door frame and screw in place. Cut any excess piece in order to avoid jamming the door. Add the hinges.
Cover the door’s exterior with the rest of the plastic (you can also use plywood). Connect the plastic to the staples or wood staples. You should now have some overhang plastic on every side. Add the handles and mount your door to its frame.
Tips and Tricks:
- If you want to keep your plants warm during cold days place water barrels or rocks inside the hoop greenhouse. This will help capture the sun heat.
- If you live in a warm environment, or if the sun is hitting your hothouse, keep in mind that shading the greenhouse will prevent the plants from getting burned. Use roll-up aluminum or wood screens, polypropylene shade cloths, paint-on materials, or vinyl plastic shading in order to shade the plants and reduce the amount of sunlight.
- Even if a hoop greenhouse protects your plants from several pests and animals, you should still have your tools clean all the time. Also, before bringing them into the greenhouse, inspect the plants for any type of bugs.
- When you’re ready to update your hoop greenhouse, you can consider certain handy accessories. Heating systems, shelves, mist systems, potting benches, fans, and tool racks are just some of the things you can add to enhanced efficiency. Think about the available space you have, about the time you can spend, about your specific needs, and, of course, don’t forget about the budget.
- Don’t set your hoop greenhouse near coniferous trees or other objects that will cast a shadow in cold season months. Instead, deciduous trees will offer plenty of shade during spring and summer and, thanks to losing their leaves, will allow for sunlight during autumn and winter.
That’s it! Simple, and easy! You’ve just built your own, cheap hoop greenhouse. Now you can go ahead and grow your healthy, delicious food during the warm and cold seasons.