Your greenhouse is an investment in your gardening passion, and like any structure, its long-term success starts from the ground up.
A solid foundation is crucial for stability, protecting your greenhouse from pests and moisture, and ensuring it stands strong for years to come. This article dives into the different materials you can use for your greenhouse foundation, helping you pick the right one for your needs.

For detailed, step-by-step building guides, be sure to see our full articles on Greenhouse Foundations and How to Build a Foundation for a Greenhouse.
Greenhouse foundation materials at a glance
Here’s a quick overview to help you compare the common foundation materials:
| Material Type | Typical Cost | Durability | DIY Difficulty | Key Benefit | Best Use Cases |
|---|---|---|---|---|---|
| Gravel/Crushed stone | Low | Low | Easy | Excellent Drainage | Portable or very small greenhouses, temporary setups |
| Treated lumber | Low-Mid | Mid | Easy-Mid | Easy to work with, level-based | Small to mid-sized greenhouses, basic DIYers |
| Concrete blocks | Mid | Mid-High | Mid | Elevation, strong perimeter | Mid to large greenhouses, sloped sites |
| Brick | High | High | Hard | Aesthetic appeal, very durable | Permanent, larger greenhouses, classic look |
| Poured concrete | High | Very High | Hard | Ultimate stability, permanence | Large, heavy, or expensive greenhouses |
Digging deeper: Understanding each material
Let’s explore the details of each foundation material to help you make an informed choice.
Gravel or crushed stone
A gravel foundation is simply a prepared, level bed of compacted gravel or crushed stone.
- Pros: It offers excellent drainage, preventing water from pooling around your greenhouse. It’s the lowest-cost option for materials and is very easy to install as a DIY project.
- Cons: This is the least stable option and provides no direct structural anchoring. Your greenhouse frame will still need to be anchored directly to the ground. Gravel can shift over time, and it doesn’t provide a perfectly solid floor.
- Best use cases: This is really the bare minimum recommended for portable or very small, lightweight greenhouses and temporary structures. It’s ideal for climates needing maximum drainage. Always anchor your greenhouse firmly to the ground with this type of base.
Treated lumber
A treated lumber base typically involves building a perimeter frame out of ground-contact rated pressure-treated lumber (like 4x4s or 6x6s), often laid on a gravel bed or simple concrete footings.
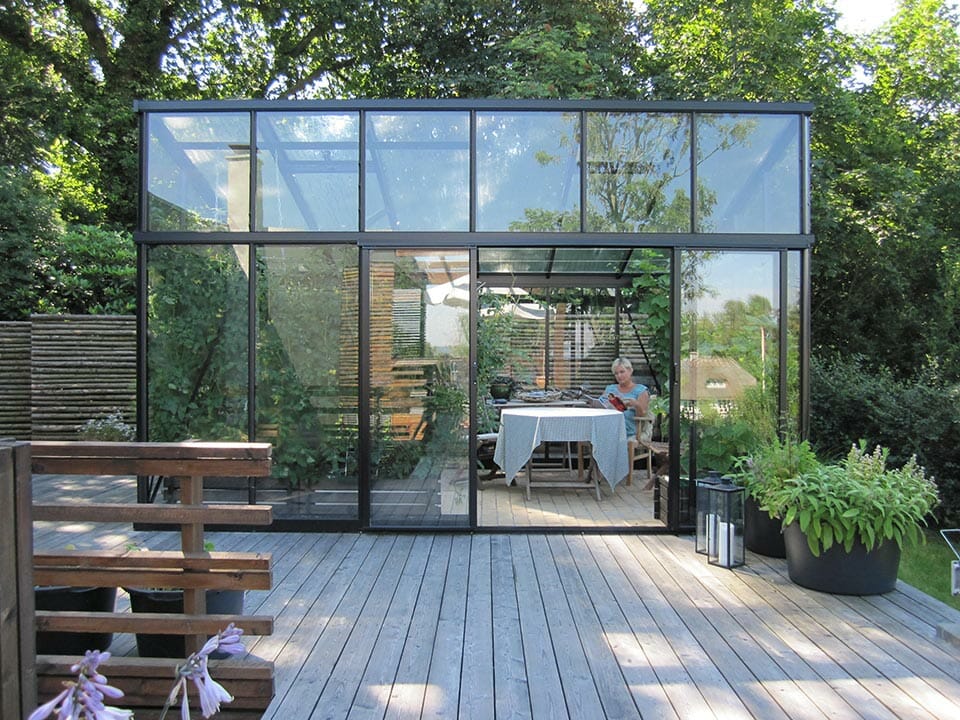
- Pros: Treated lumber is relatively affordable and generally easy for DIYers with basic carpentry skills. It provides a solid, level frame to which you can securely attach your greenhouse. It also offers some elevation, which aids in drainage.
- Cons: Even pressure-treated wood can eventually rot or warp over very long periods, especially if in constant contact with moisture. It’s also less durable than masonry options.
- Best use cases: This material is well-suited for small to mid-sized greenhouses where you want a level base with moderate permanence. Anchoring the wood frame with rebar or concrete anchors is highly recommended for added stability.
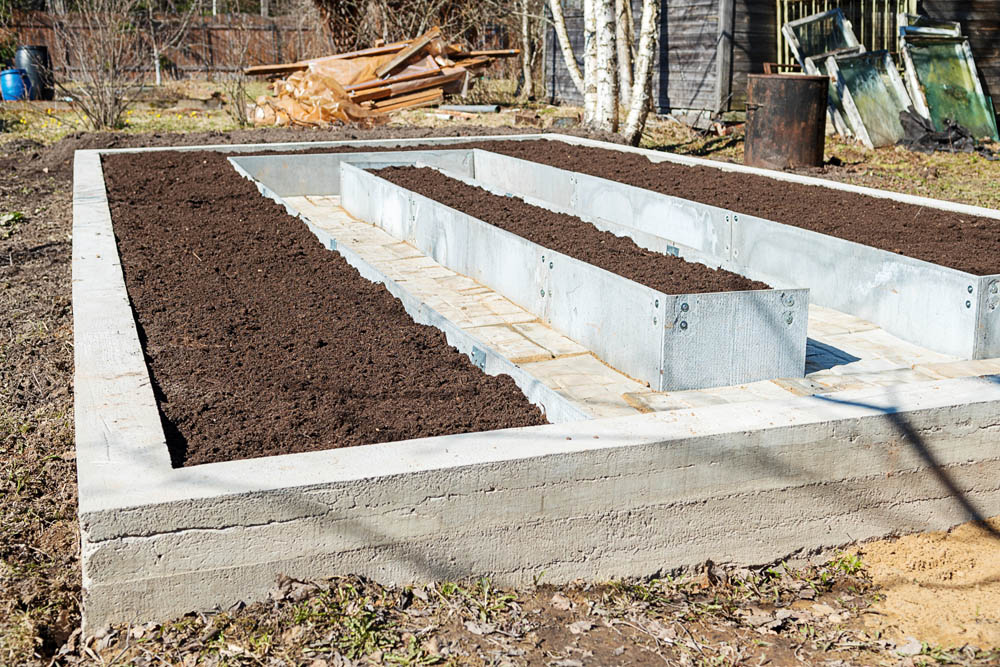
Concrete blocks (cinder blocks)
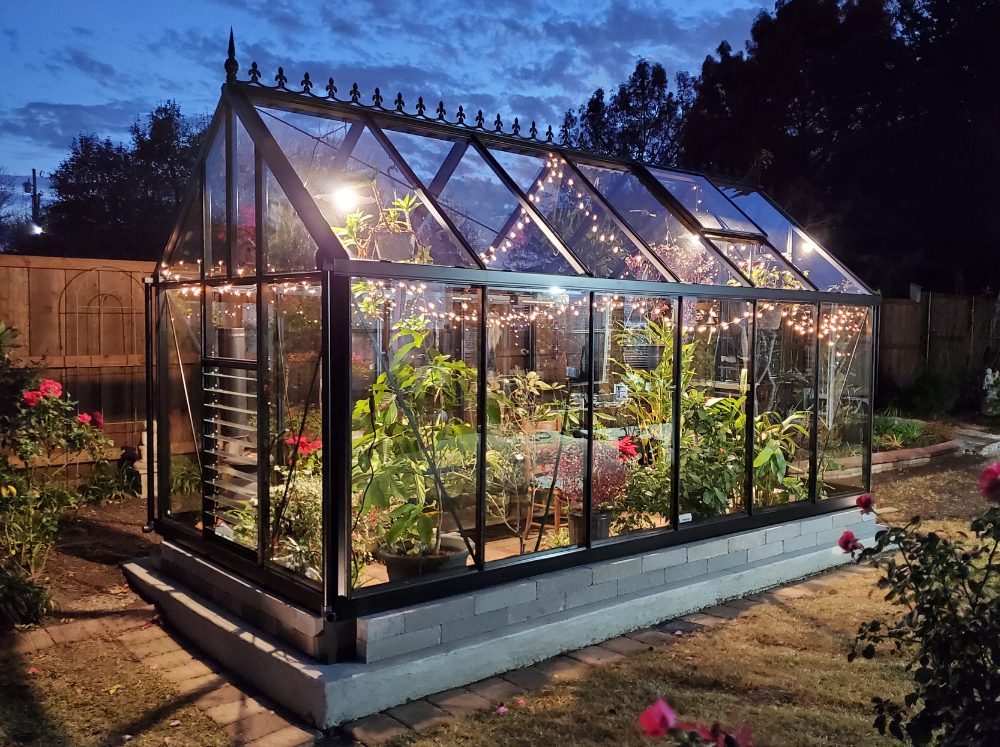
A concrete block foundation uses individual concrete blocks (cinder blocks) stacked and leveled to create a stable perimeter or support points for your greenhouse frame.
- Pros: Concrete blocks offer good durability and longevity. They provide significant elevation, which is great for drainage and airflow beneath the greenhouse. Installing concrete blocks can be a manageable DIY project, and they form a very stable base when properly laid and leveled.
- Cons: This option is generally more costly than gravel or simple lumber. It also requires precise leveling of each block, which can be slightly labor-intensive. Standard concrete blocks aren’t highly aesthetic on their own, but can be easily covered with veneer or stucco for a finished look.
- Best use cases: Concrete blocks are an excellent choice for mid to large greenhouses, especially on sloped sites where you need to create a level growing area. They are also good in areas where you want to ensure proper drainage beneath the structure. They can be a very sturdy foundation if anchored to the ground with rebars.
Brick
A brick foundation typically involves laying traditional bricks with mortar to form a continuous perimeter wall or a full base for your greenhouse.
- Pros: Brick is a highly durable and long-lasting material that can withstand the elements for decades. It offers a classic, attractive aesthetic that can significantly enhance the look of your garden. A brick foundation provides a very strong and stable base and can offer good thermal mass, helping to regulate greenhouse temperatures.
- Cons: Brick foundations usually have a higher material cost compared to gravel, lumber, or concrete blocks. Laying bricks with mortar requires specific masonry skills, often necessitating professional help or a steep learning curve for DIYers. It can also be more labor-intensive than simpler options.
- Best use cases: Brick is ideal for permanent, larger greenhouses, especially if you desire a traditional or classic appearance. It’s also beneficial in climates where the thermal mass can help stabilize temperatures.
Poured concrete
Poured concrete can be used as a solid slab (the entire greenhouse floor), individual piers (footings at key points), or a continuous perimeter wall as your foundation.
- Pros: Poured concrete offers the ultimate in stability and durability, designed to last for decades. It provides a perfectly level and incredibly solid surface for your greenhouse. It’s excellent for securely anchoring the greenhouse structure and offers significant thermal mass to help moderate internal temperatures.
- Cons: This is typically the highest cost option for both materials and labor. It’s also the most complex and labor-intensive DIY project, often requiring professional help for proper excavation, form-building, and pouring. If not planned correctly, a solid concrete slab can lead to drainage issues, as water cannot percolate through it.
- Best use cases: Poured concrete is the best choice for large, heavy, or expensive greenhouses where maximum stability and permanence are paramount. It’s highly recommended for structures in areas with strong winds.
Choosing the right foundation material for your greenhouse
With these options in mind, how do you decide? Consider these factors:
- Your greenhouse size and type: A lightweight hobby greenhouse needs less support than a large, professional model designed for heavy snow loads.
- Your local climate: Think about heavy rainfall (excellent drainage materials are key), strong winds (strong anchoring is vital), or extreme cold (materials with good thermal mass help).
- Your budget: Balance the upfront costs of materials and labor with the long-term durability and maintenance requirements.
- Your DIY skills: Be honest about your comfort level with different types of construction. Some materials are much easier to work with than others. Don’t be afraid to call a pro if needed.
- Local building codes: Always check if permits or specific foundation types are required in your area before starting your project.
Your greenhouse, built on solid ground
A strong foundation is the quiet hero of any successful greenhouse. By choosing the right material, you’re not just building a base; you’re ensuring years of stable, productive growing. Think about your greenhouse dreams, your budget, and your comfort with DIY. The perfect material is out there to give your green haven the strong start it deserves.